
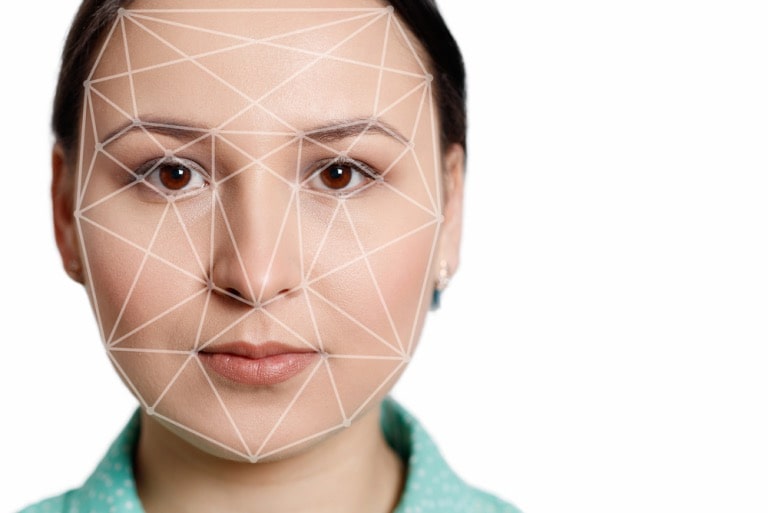
Face swapping is a commonly used editing technique for creating funny pictures. The most popular types are a celebrity face swap and a friend or family face swap. This is also convenient for a professional photographer who wants to seamlessly add a person’s face from one photo to another in case they’ve blinked, or something else has ruined the picture.
For a natural-looking result, it’s essential to use a photo editor that offers professional precision and easy-to-use tools. We’ll show you the editing process step by step using one of the best face swap software for PC – PhotoWorks. In addition to the detailed walkthrough, there are also going to be some useful tips for top-notch face swapping. So, let’s get started.
How to Swap Faces on a Computer?
Face swapping requires attention to detail. However, you don’t need any skills or professional software to get it done. Below, you’ll find out how to add a person’s face to a picture with a beginner-friendly photo editor.
It’s packed with automatic and pro-grade tools. Whether you want to make small changes or do an advanced photomontage, PhotoWorks has got you covered. These are the simple steps you need to follow to swap faces like a pro:
1. Open the Main Picture in PhotoWorks
After installing the lightweight software on your computer, you need to launch it. To import an image with the face you want to add, click Open Photo and select the desired image. You can also drag and drop your file to upload it.
2. Cut Out the Face Area from the Photo
Next, go to the Tools tab and select Change Background. Use the Object brush to select the face area. For better results, you should zoom in and change the brush size. If you want to delete your strokes, either click Undo or use the Eraser tool.
Once you select the person’s face, you have to make the rest of your image transparent. To do so, pick the Background brush, mark the needed area by painting over your picture, and hit Next. Then, you can adjust your selections if necessary and move on to the next step by clicking Next.
3. Add the Second Image as a Background
Now that the picture with the person’s face is ready, you need to insert it into another photo. Click Select Background Image and hit Load My Own to choose a file. Move the picture and drag the handles to set the right size and position of the layer. You can also rotate it to fit the image perfectly.
To make the replacement realistic, you should also adjust the Blur Edge and Extend Edge settings. You can also drag the slider to adapt colors to the background. When you’re done with face swapping, click Apply to save the changes.
4. Export the Finished Picture
When you change the face in a photo, you can also correct colors, apply one of 200+ effects and 3D LUTs, and enhance the overall quality of your image.
After additional changes are made, save your edited photo. You need to hit the Save button and choose the desired file format and destination folder. If you need more advanced settings, go to File and select Resize and Save in the drop-down menu.
Here, you can resize your image, increase sharpness, change the DPI, adjust interpolation, and save your photo for printing, viewing on a full HD screen, social media, etc. Finally, hit Apply to export your new photo.
Tips to Swap Faces in Photos
With a powerful tool at hand, you can effortlessly add someone’s face to a picture. But once you start making such images, you might notice that some photos don’t look right. The tips below will help you achieve realistic results.
Adjust skin tones and lighting. Pay attention to the skin tones and lighting in both photos. If they are different in the images, you can use tools like color correction, brightness adjustments, and contrast settings to make the faces match and blend well together.
Make sure the photos align properly. To achieve a natural-looking face swap effect, it’s also important to align the eyes, nose, and mouth of both faces as closely as possible.
Use photos with similar angles and expressions. For example, if one photo is taken from a low angle, try to find another photo with a similar perspective. Besides, choosing images where both subjects have similar expressions, such as smiling or looking serious, will make the face swap appear more convincing.
Consider details. It’s better to zoom in and fine-tune smaller details like the person’s eyebrows, eyelashes, and lips to enhance the overall realism of the face swap.
Wrapping Up
This is what face swapping on a PC is like. As long as you follow the tips from this article and edit images with an easy-to-use program, you can effortlessly experiment with different photos. Run the software you prefer and try this creative technique today.


